We in ICT Services have noticed increasing interest about Python programming and usage in courses that are provided by Oulu University of Applied Science or University of Oulu. This guide will help you to install Python programming language and Visual Studio Code programming environment on your personal computer without Administrator privileges.
The contents of this instruction:
- Installing stand alone Python on Windows 11
- Installing Visual Studio Code
- Configure Visual Studio Code to work with stand alone python installation
Installing stand alone Python on Windows 11
First we need to get installation media from https://python.org/downloads and as of writing of this document, we will download the Python 3.11.5 version.
After download we can start the Installation by opening the python-3.11.5-amd64.exe file.
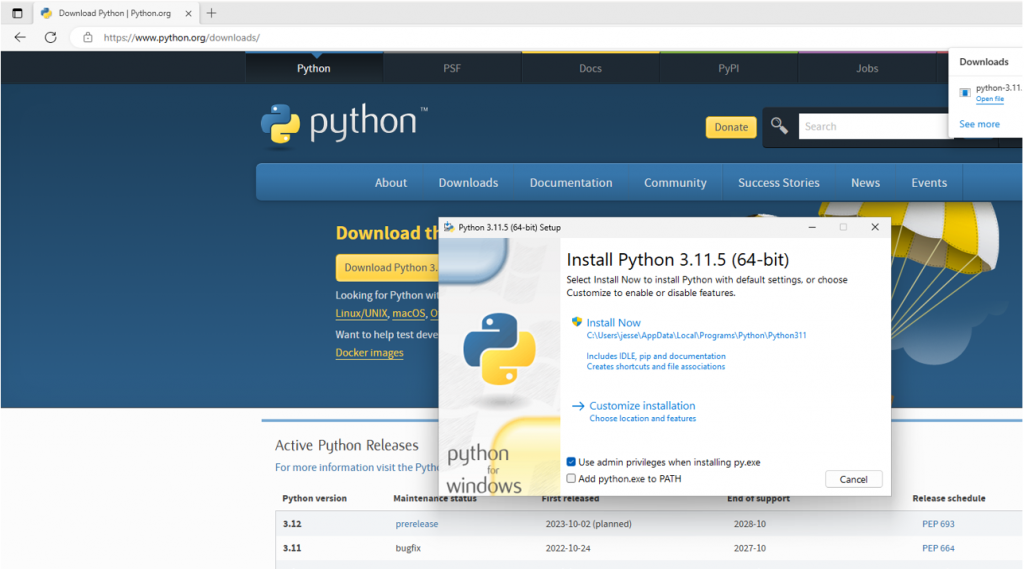
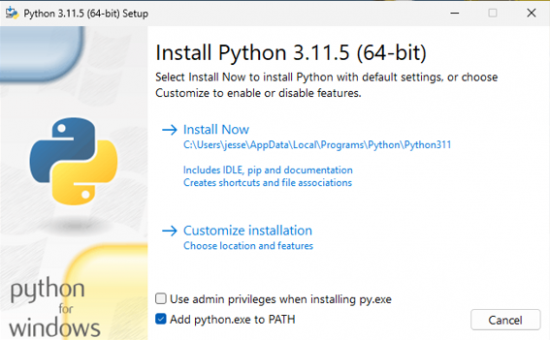
Before we can continue the installation we must change the default settings:
- Unselect “Use admin privilige when installing py.exe”
- Select “Add python.exe to PATH”
After the change, you can continue the installation with selecting Install Now. You can see the right selections in the image below.
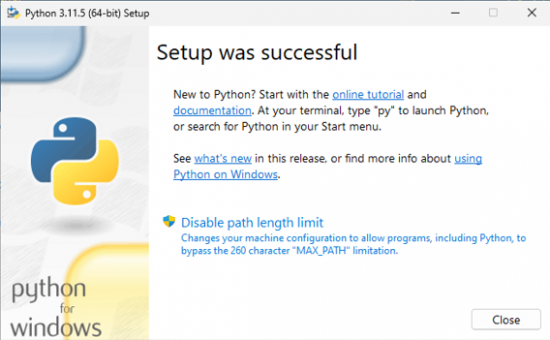
After the installation, the setup may request you to disable path length limit. You can ignore it and press Close.
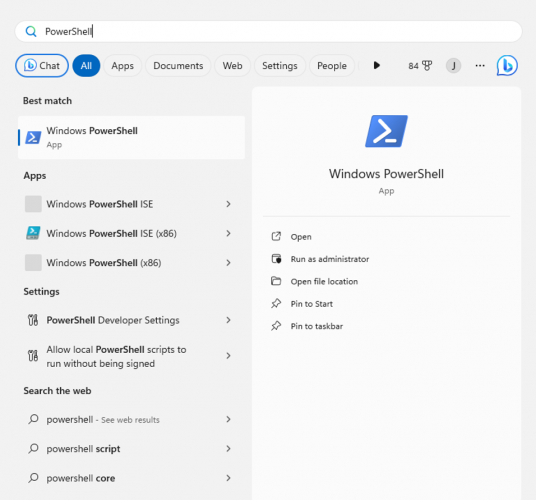
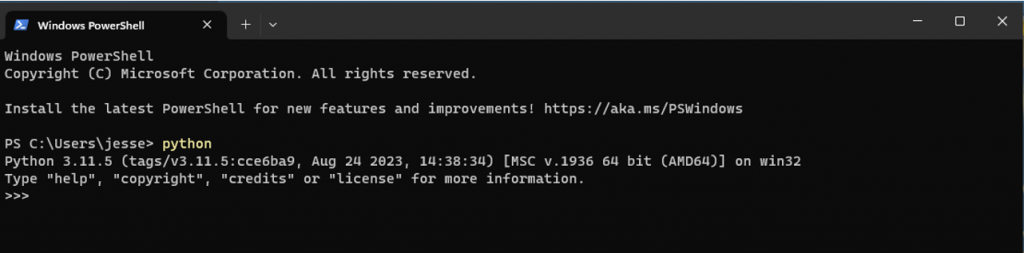
Now the installation is complete, you can test it by opening PowerShell and typing “python“. It should open Python Interpreter that you can use to run python code interactively. You can open the PowerShell from Windows menu by typing “PowerShell”.
If everything works as intended after typing “python” and pressing Enter, you should see the following prompt:
Next you can continue to install Visual Studio Code.
Installing Visual Studio Code
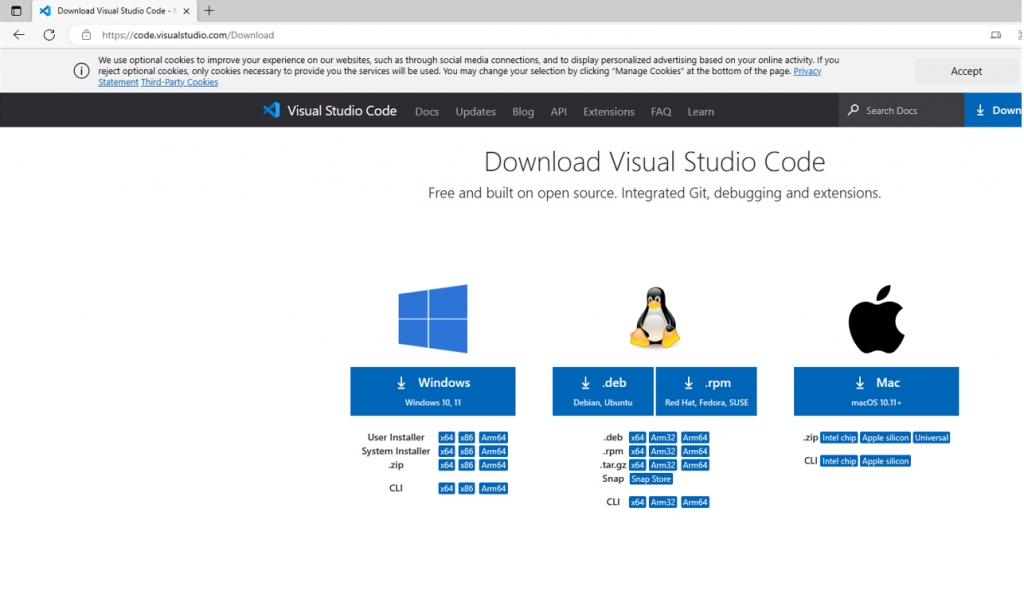
You can download Visual Studio Code installer from https://code.visualstudio.com/Downloads by selecting Windows.
After the successful download, we can start the installation by opening the VSCodeUserSetup-x64-1.81.1.exe file.
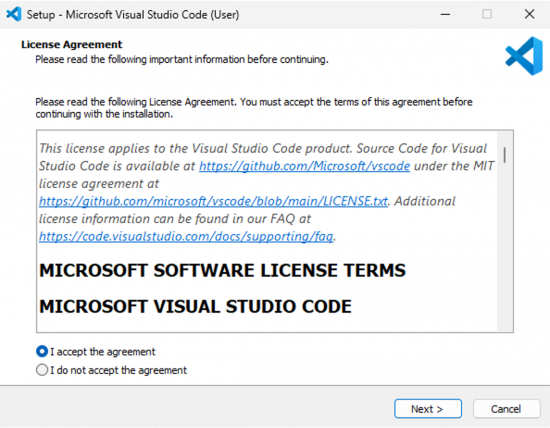
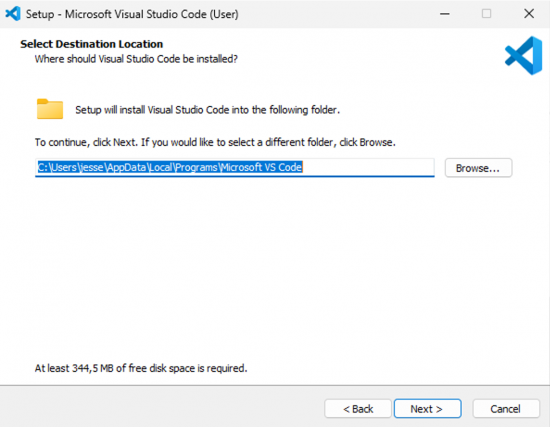
You should read the License agreement and accept it. After that, we can continue to next step by pressing the Next button. Installer will ask the location where we put the Visual Studio Code and you can keep it as default and continue by pressing Next.
Set Startup Menu Folder as default settings and press Next button.
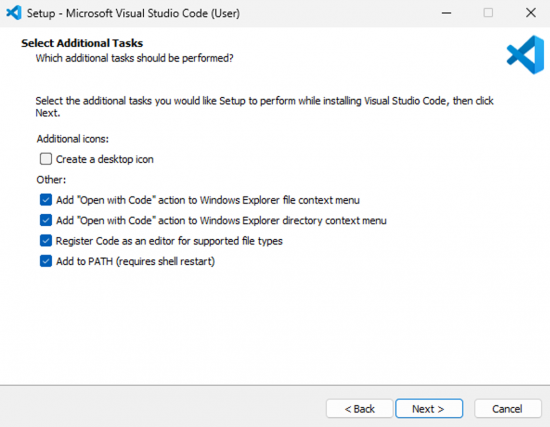
In Select Additional Tasks menu we should select “Add “Open with Code” action to Windows Explorer file context menu” and “Add “Open with Code” action to Windows Explorer directory context menu”. This will allow you to easily access Visual Studio Code from File Manager. After these changes, press Next.
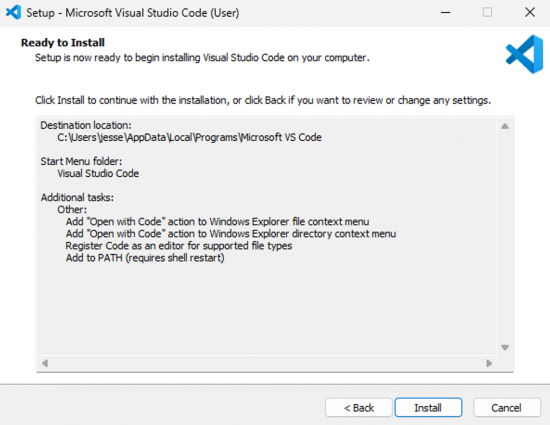
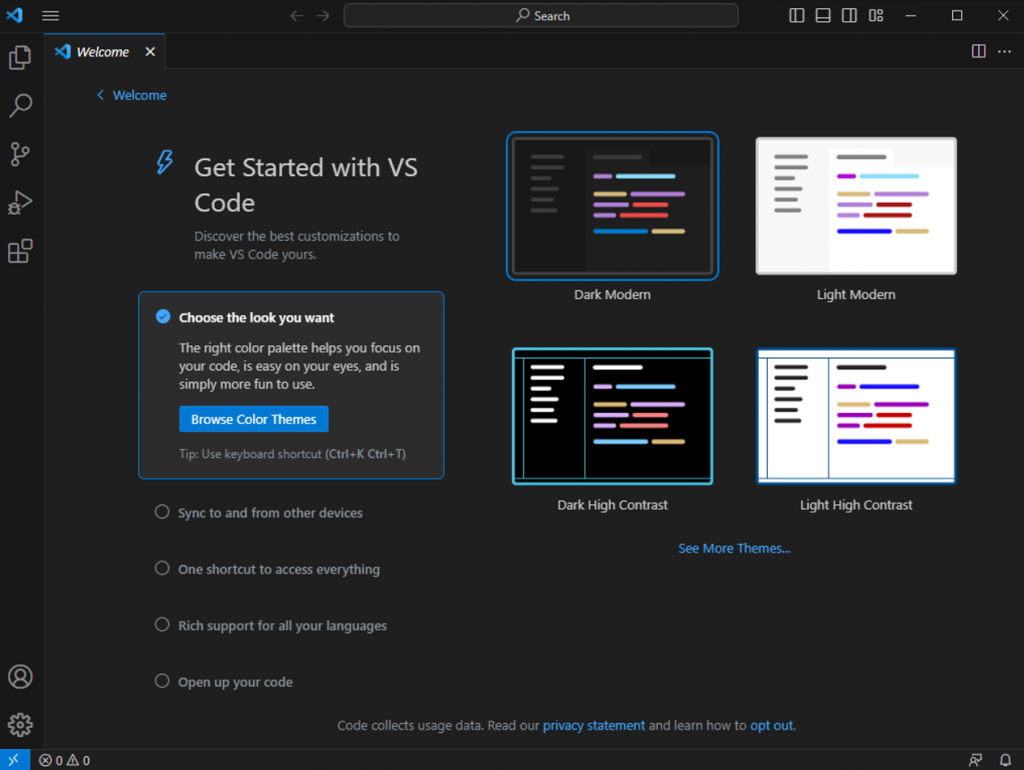
Now you can start the installation by pressing Install and it will take some time. After that, you can hit Finish and it should start the Visual Studio Code. You can follow instructions in the Welcome screen and setup the environment as you like.
Configure Visual Studio Code to work with stand alone Python installation
Now we have installed programming environment Python and editor Visual Studio Code. We can make few simple configurations that will allow you to run Jupyter notebooks and Python code.
First we will go to Extensions menu in Visual Studio Code:
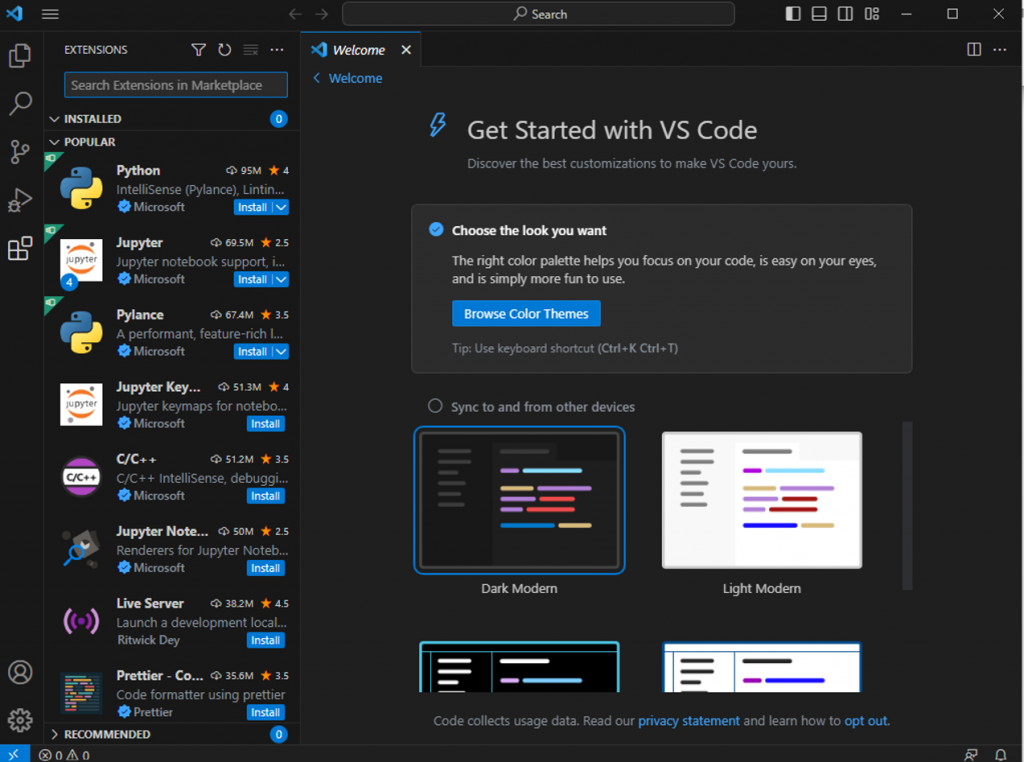
In Extension menu, we can select and install the “Python” and “Jupyter” extensions by pressing Install button next to the name. If you don’t see the Python or Jupyter extensions, you can use “Search Extensions in Marketplace” text field to search them by name:
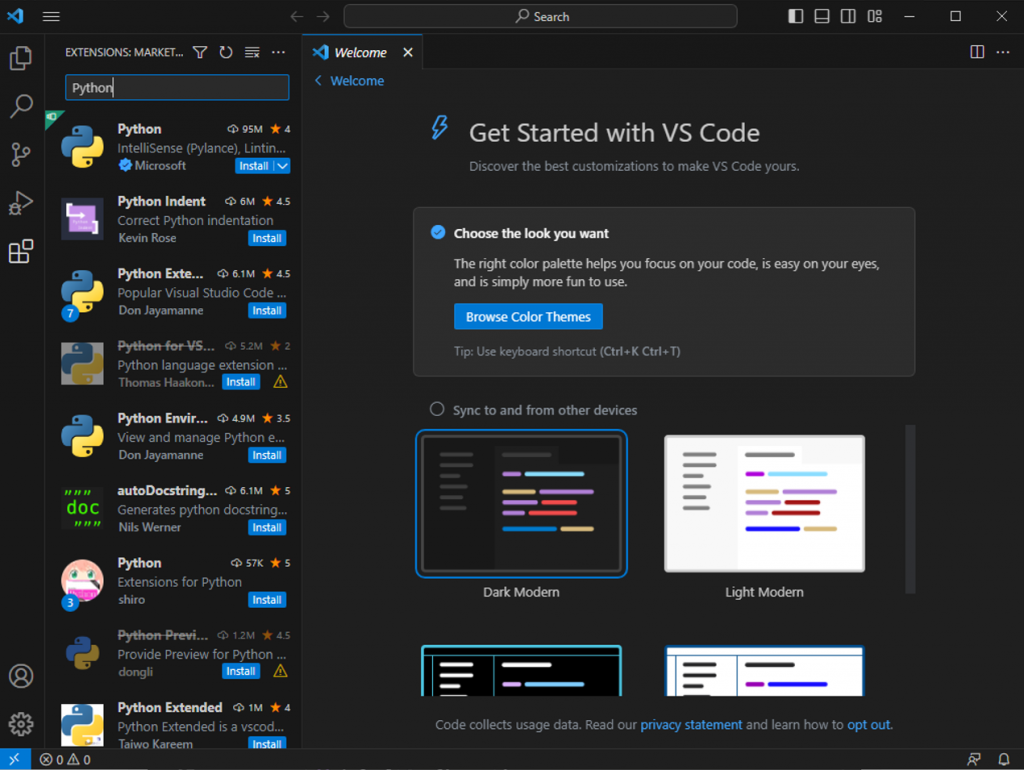
Now we will select “Python” and press Install. It will open the “Extension: Python” page and it will show you details. After the installation is done you can search Jupyter and install it.
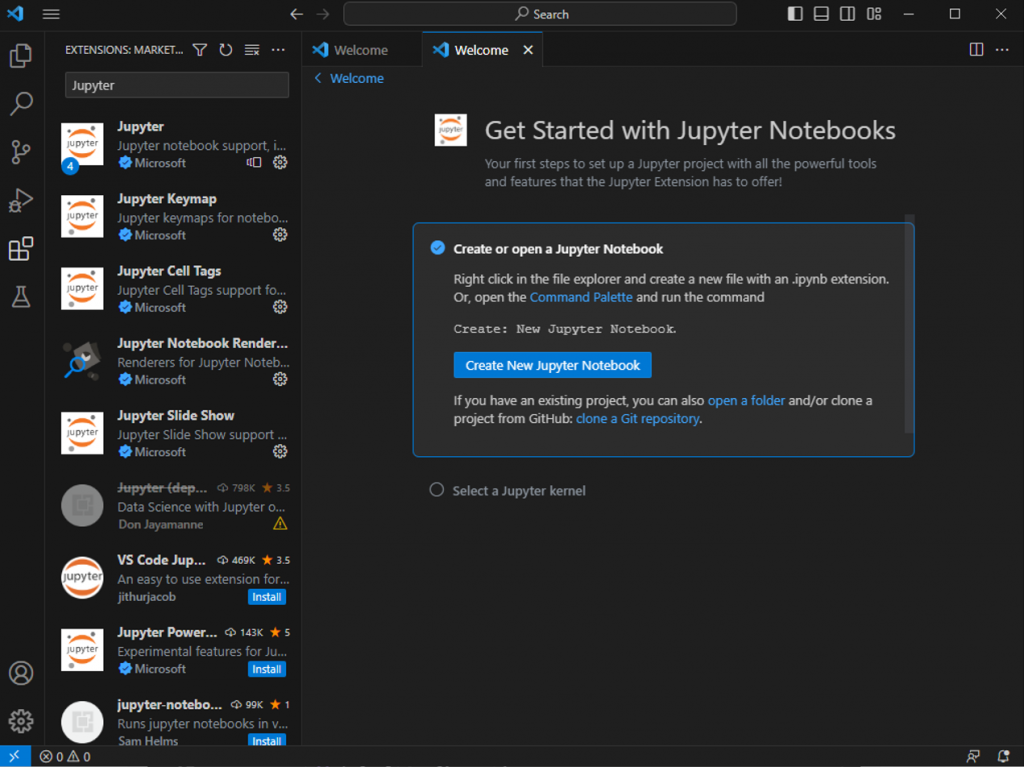
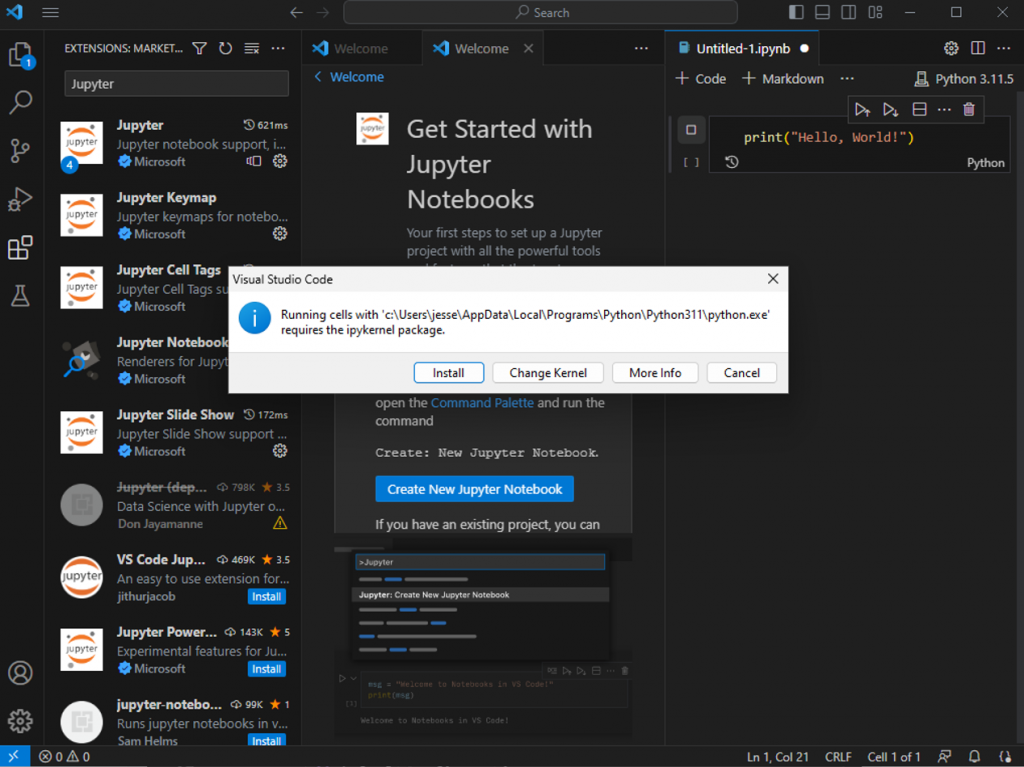
After the installation is completed, we can press the Create New Jupyter Notebook button to open notebook that we can use to test that integration between Visual Studio Code and Python is working. In new notebook, we should see code cell that we can type “print(“Hello, World!”) and press Run button next to code cell. You may also notice the Jupyter kernel pointing to Python 3.11.5 that we installed before.
After hitting Run, the Visual Studio Code may request you to install ipykernel package. You may press Install. It may also prompt Microsoft windows firewall settings but you can cancel that screen.
Now you should see the desired output:
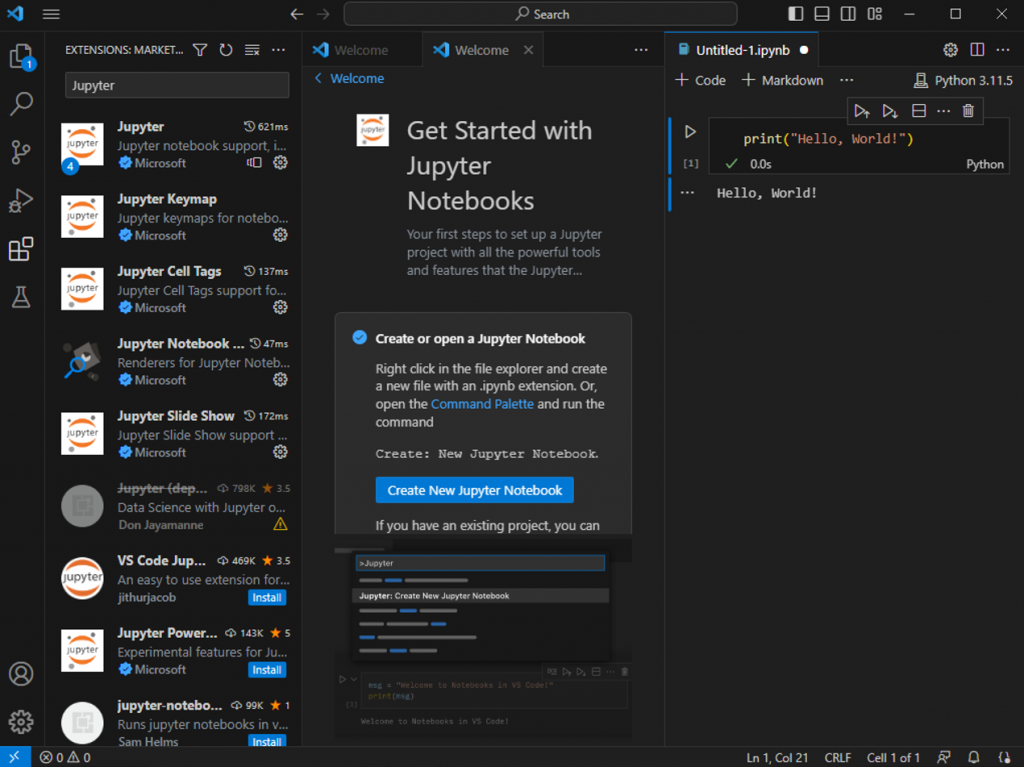
Congratulations, you have now a working Python environment with Jupyter notebooks and Visual Studio Code.