This guide is intended for the students and staff of Oulu University of Applied Sciences. Click here for the University of Oulu guide.
The use of OpenVPN Connect client for remote connections of Oamk requires the creation of a personal OpenVPN-profile file and importing it to VPN client in the computer. First create the profile file, download it to your computer and then import it to OpenVPN client. Only after that the client will be ready for use.
- NOTE! Your OpenVPN profile is valid for 180 days. Its creation date appears in the name of the profile. You will receive a notification in your email 7 days before the profile expires. With an outdated profile you cannot open an OpenVPN connection. In that case, the client says “Authentication Failed“. To anticipate the situation, create a new profile preferably even before your old profile expires!
OpenVPN Connect is available for the Windows computers of Oamk staff in Software Center. If your own device does not contain the VPN client yet, install it according to the operating system (Windows, Mac, Linux): OpenVPN client installing instructions.
Contents of this instruction:
- Creation of VPN-profile
- Importing of the profile file to OpenVPN Connect client in Windows
- Delete a profile
Creating of VPN profile
- Navigate to the service https://eduvpn.oamk.fi/
- Log in the VPN service with your Oamk user account (account@oamk.fi or account@students.oamk.fi) and with the password.
- In the VPN service, choose the function Configurations from the top. The service shows you important information:
- Under Profile select:
- Staff members choose the option Oulu University of Applied Sciences Staff.
- Students choose University of Applied Sciences Students.
- In the Name section, give a free-form name which describes your profile.
- To create and download a profile to your device, click Download.
- Import the profile into OpenVPN.
- Employees can have two (2) different profiles and students one (1) profile.
- If you see a notification that you can not create more configurations, then delete the old one in section Existing before the creation of a new one.
- The first part of the file name is eduvpn.oamk.fi, the creation date is seen in the name and the file format is .ovpn.
- Usually the downloaded files are in the folder Downloads, if you have not defined another saving place.
- Installation of OpenVPN Connect client
- You can download OpenVPN Connect from Company Portal/Software Center.
- If the device in your use is personal and does not have OpenVPN client yet, first download and then install the client that complies with your operating system from the page https://openvpn.net/vpn-client/.
- Installation instructions for own devices and for different operating systems: OpenVPN client installing instructions.
If your computer will be changed or reinstalled later, download the profile file to your device and import it into the program. If your profile expires, create a new profile, download to the device and import to the program.
In this instruction it is told how the profile is brought into OpenVPN Connection in Oamk staff computers and other Windows computers. For the other operating systems the import of the profile has been presented in the instruction: OpenVPN client installing instructions.
Importing a profile to OpenVPN Connect
(In the following example images, the server and profile names are indicative and therefore do not correspond to Oamk’s practices.)
You can import your newly created profile into OpenVPN in two different ways:
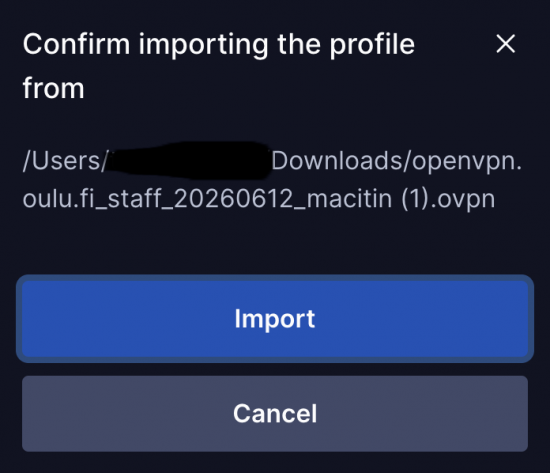
- Open the file that you downloaded and press Import.
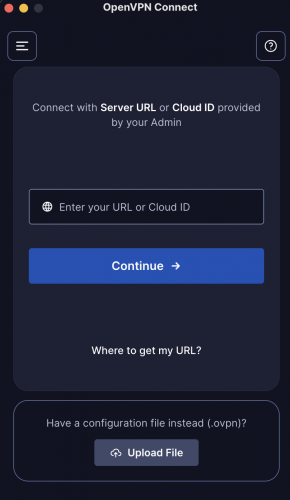
- Or alternatively: open OpenVPN Connect.
- If Onboarding Tour opens up, close it.
- Press the Upload File button found in the bottom and search and select the profile you just downloaded.
- Press Import.
- Your profile has now been added and you can connect to the VPN by pressing Connect.

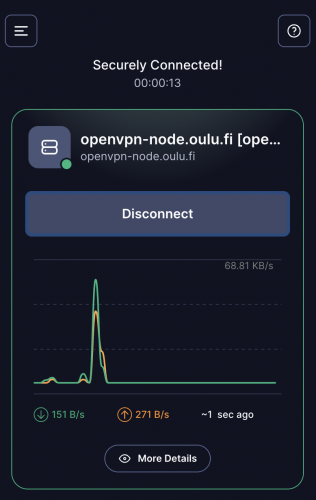
- When you have no more use for the VPN connection, press Disconnect.
Deleting a profile
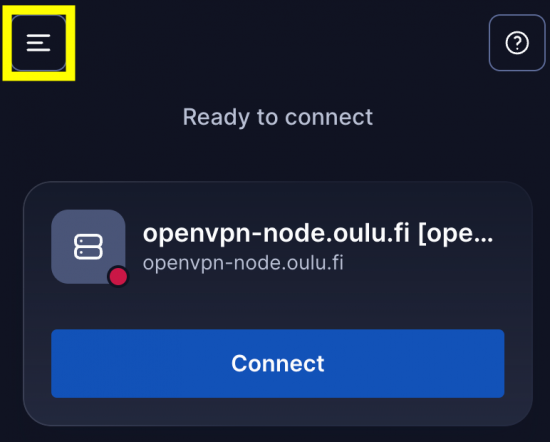
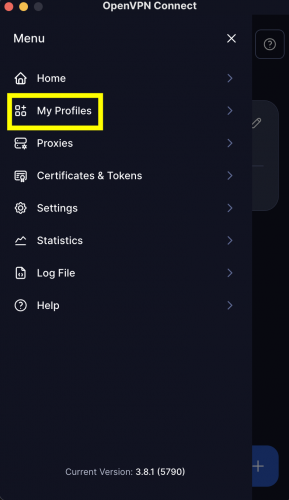
- Press the button with three lines in the top left corner.
- Select My Profiles.
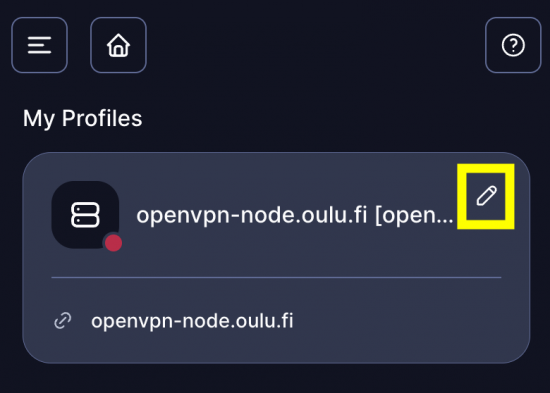
- Find the profile you want to delete and press the pen button found on the right side.
- Then press the recycle bin button in the top right corner.
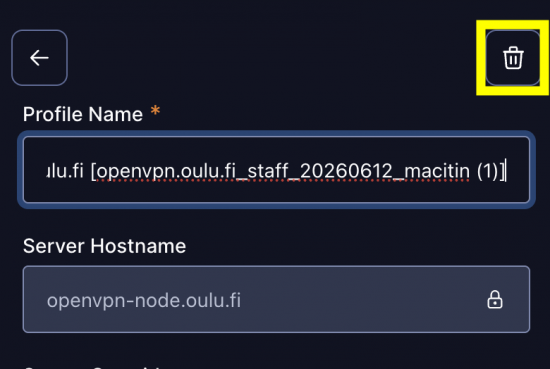
- Finally, press Delete.
