The main purpose of Multi-Factor Authentication (MFA) is to prevent the abuses of the user accounts. In practice MFA means that you verify, in other words approve your sign-ins on the phone, which has been connected with MFA. Because your phone is needed for the verification, no external quarter is able to abuse your user account.
The verification by phone is required when logging with universities M365 account.
MFA is in use for all the Microsoft accounts aka M365/O365 usernames of the university and Oamk. In practice, MFA is connected to the user accounts of the staff and students and also to the so-called UFO accounts. The MFA is also in use for the guests who have been invited to Teams groups, read more: MFA with a guest user account (ict.oulu.fi/)
If your MS account doesn’t include the setting, how to send an verification request to you, you will be directed by the notification “Lets keep your account secure“ (in Finnish “Pidetään tilisi suojattuna”) to add your verification method to your MS account’s security information.
Setting up Authenticator
Microsoft Authenticator
Choose Microsoft Authenticator application as your default method if you are using a smartphone. Microsoft Authenticator is the preferred method of verification. Its use makes it possible to take advantage of some new features, for example reset the password without Suomi.fi authentication.
Do this:
Download Microsoft Authenticator from the app store of your phone (Android / iOS).
Open the Microsoft Authenticator app.
Allow notifications and camera use.
In the top right you should see a + button, press on it and after that select Work or school account and either Sign in or Scan QR code.
Sign in or Scan the QR code.
You’ll see the QR code when signing in to your account on a computer, at for example: https://o365.oulu.fi.
You should see a prompt that says Lets keep your account secure. Press Next and in the next prompt, press Next again.
Scan the QR code and press Next once more.
If you selected Sign in, you’ll be prompted to continue in browser, click on Open in browser.
For the next two steps, simply press Continue.
Now click on the top link, Link your account to the application by clicking this link.
Once adding your account completes, return to the browser and press Next.
In the Authenticator app you should now see a “Are you trying to sign in?” pop up, type in the numbers you see in the sign-in window in your browser and press Yes. Go back into your browser and press Next.
Authenticator is now set up on your account, press Done.
If you didn’t get the “Lets keep your account secure“ notification and are instead directly logged in to the o365 portal:
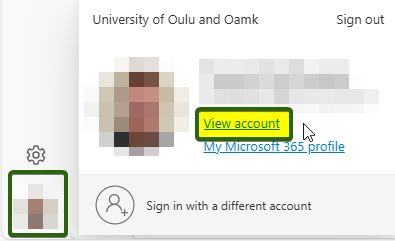
Open your account settings through the Profile menu in the bottom left corner by selecting View account Optionally you can access Security info directly from this link: https://mysignins.microsoft.com/security-info
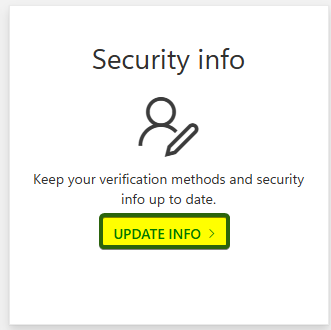
Open Security info by clicking on Update info
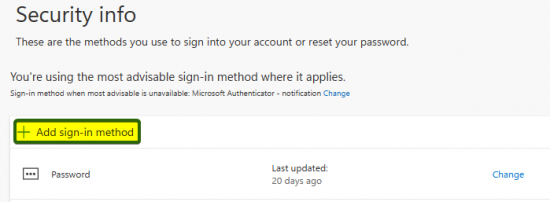
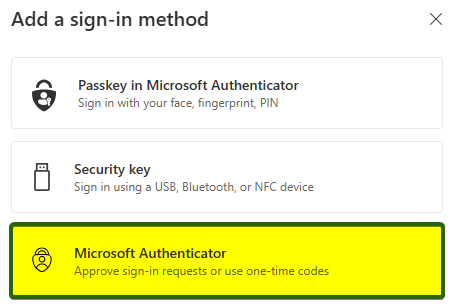
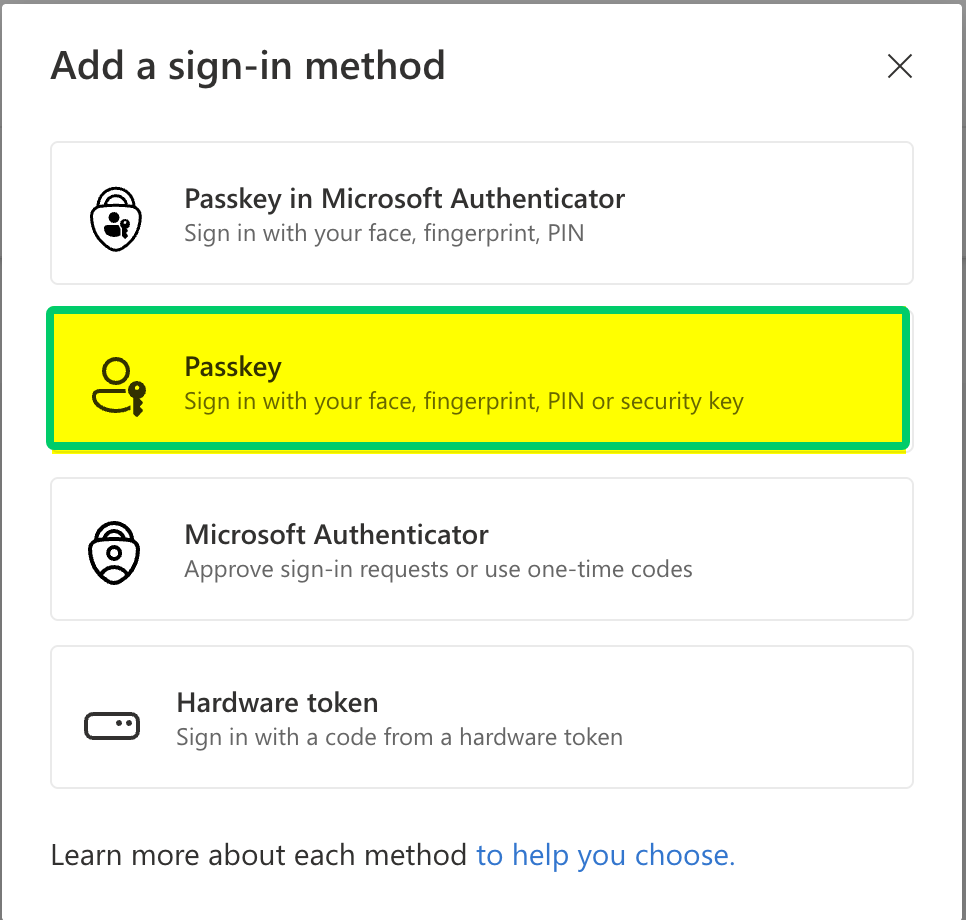
Click on + Add sign-in method and then select Microsoft Authenticator
You can remove your previous authentication method from the list below the + Add sign-in method button
Please choose Microsoft Authenticator as a primary method. From now on, you will accept or deny the verification requests on the Microsoft Authenticator application that has been installed in your mobile device.
The phone must have a data connection and the device should be available to you.
If you process the university email or calendar also on the same mobile device, the application must be Outlook or some other application which supports the feature Modern Authentication of M365.
You can also use the Authenticator app to authenticate other, including your private user accounts, by adding the accounts you like in the app.
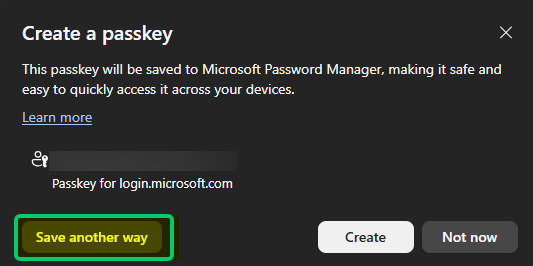
After you have successfully set up Authenticator, you can also set up Passkey.
Note! Enabling Passkey requires your phone system version to be iOS 17 or newer / Android 14 or newer.
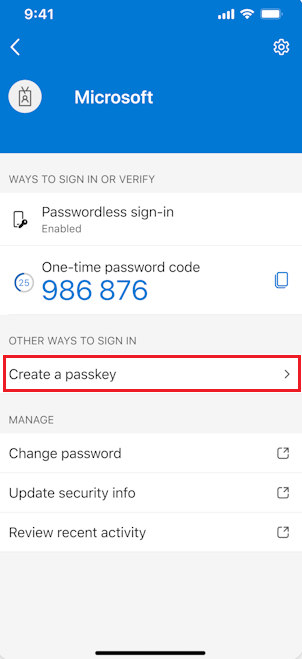
Open the Authenticator application and click on the account you want to set up Passkey on.
Click on Create a passkey.
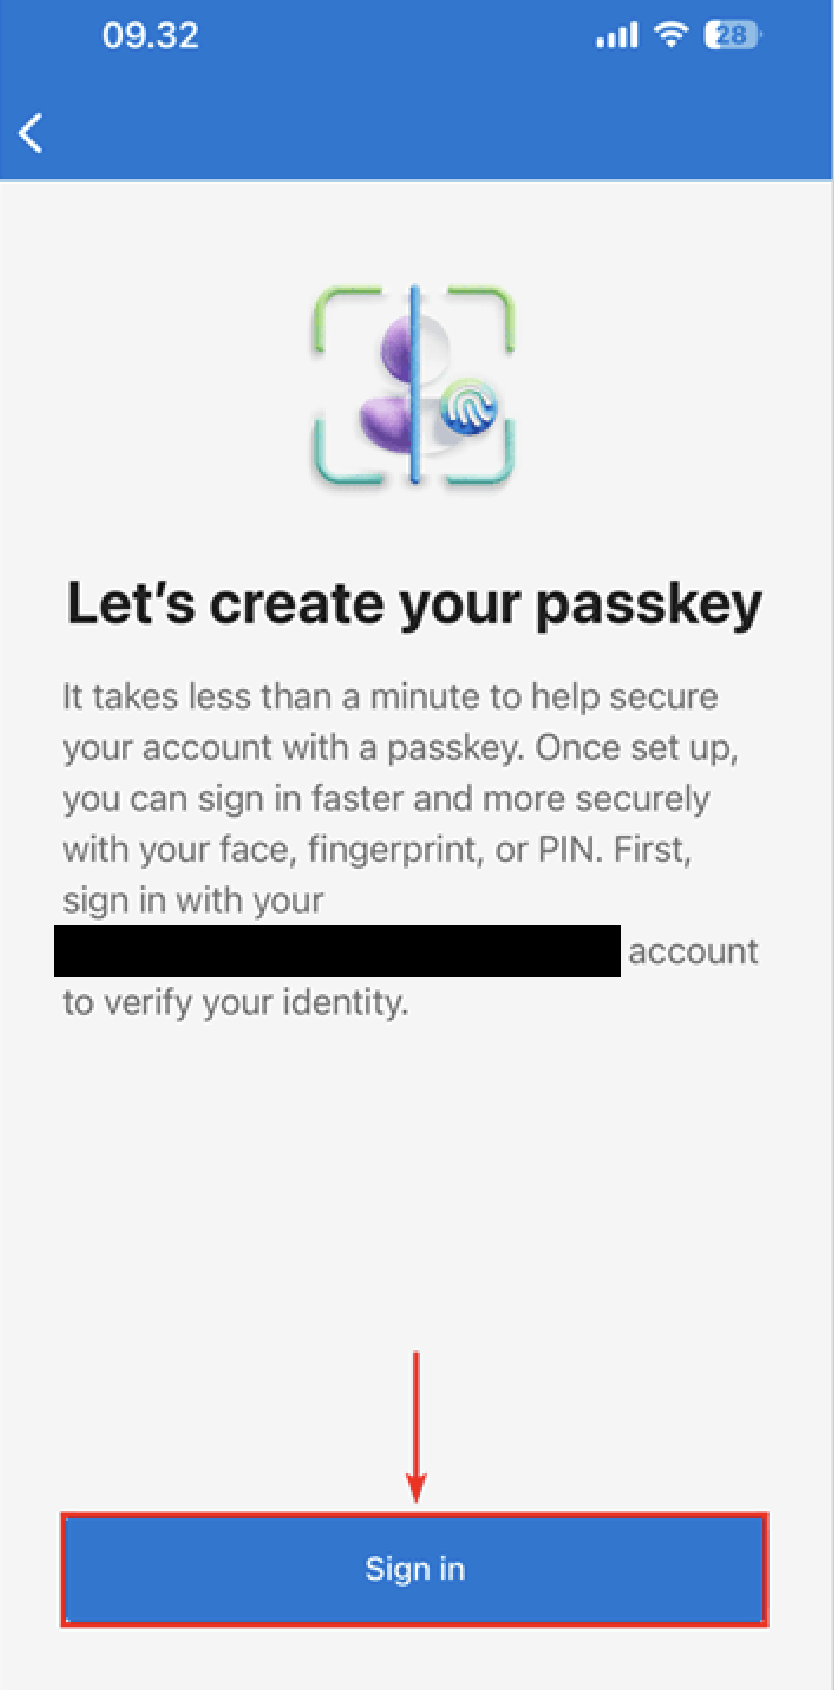
Click Sign in and verify the sign-in through Authenticator.
Passkey has now been successfully set up.
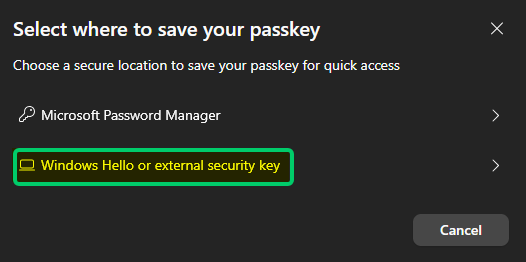
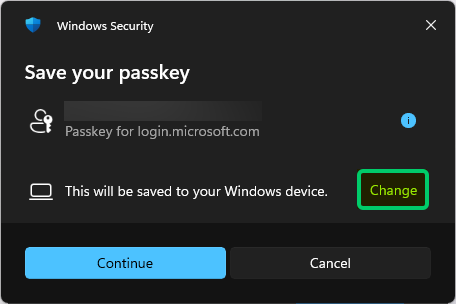
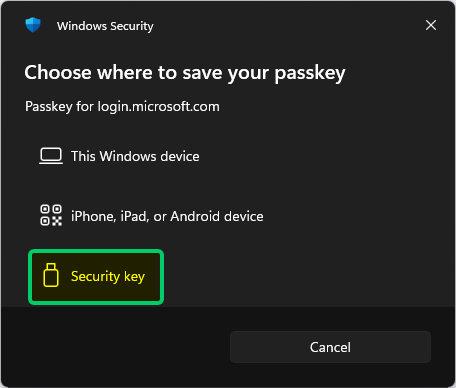
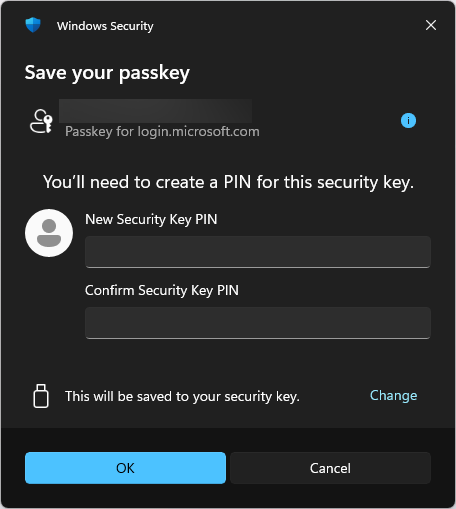
Alternative authentication method (FIDO2)
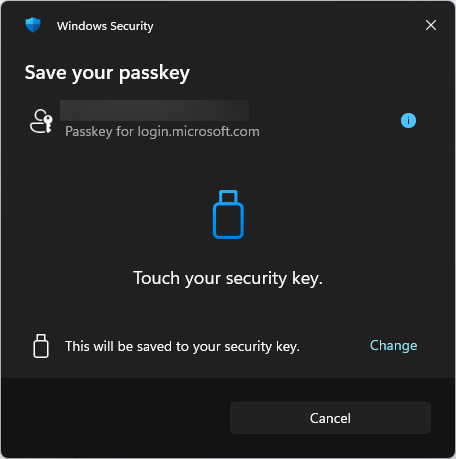
If you cannot or do not want to use the mobile app for authentication, you can alternatively use a FIDO2 key. The FIDO2 key most commonly works with a USB connection, and it costs approximately 50-100 euros. The FIDO2 key works on a laptop or desktop computer with a USB connection.
The staff can obtain the key from Netox, discuss the matter with the person in charge of purchasing your unit. Students can acquire the key from computer service companies.
The key used in the instructions is the Identiv uTrust FIDO2 NFC key.
Note! Setting up the FIDO2 key requires that you have first set up the Authenticator. You can remove the registered Authenticator method and the application after setting up your FIDO2 key.
Note! These instructions were made on a Windows computer, using the Edge browser. Depending on your browser and operating system, the steps may vary.
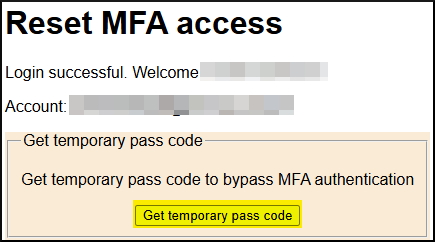
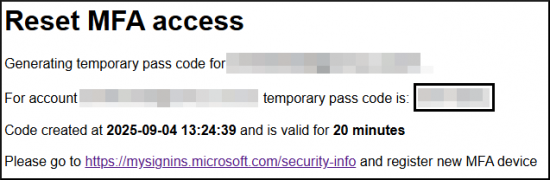
If you are unable to authenticate via the suomi.fi service, please contact ict@oulu.fi or visit the ICT service point at the Linnanmaa campus in room KE1020.
For now, it is still possible to use the text message (SMS) option to receive the temporary code, however this will be discontinued.
Use of MFA
Once your MS account includes a working verification method, requests for verification will be coming to the Authenticator app on your phone.
Verification requests apply only to those logins where you use the university’s M365 user name. Requests come both inside and outside the network.
In the future, the need for verification will decrease as trust relationships arise with the devices you use.
In the login window, you can choose a secondary verification method if the primary method cannot be used at that moment. Because of this, it is recommended to have at least two working methods stored in your security info.
FAQ
If in the introduction any problems or questions arise, please check if the solution is found here: FAQ – Frequently Asked Questions.