With the help of virtual desktops, you can easily create as many separate desktops as you need, each with different content. Virtual desktops have been in use for a long time in the Linux world, but Windows also offers Windows users the ability to create different desktops for various needs.
Creating a new virtual desktop
- Click on the Task View button. (Button is located on the taskbar by default.)


Windows 10 / Windows 11 - Press New Desktop

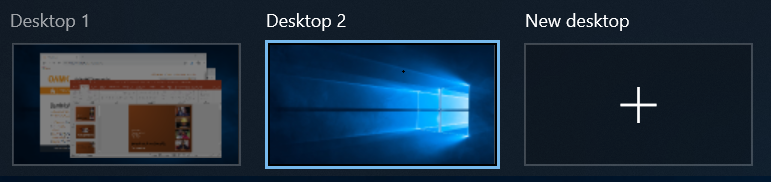
- Open the applications that you want to use on this desktop
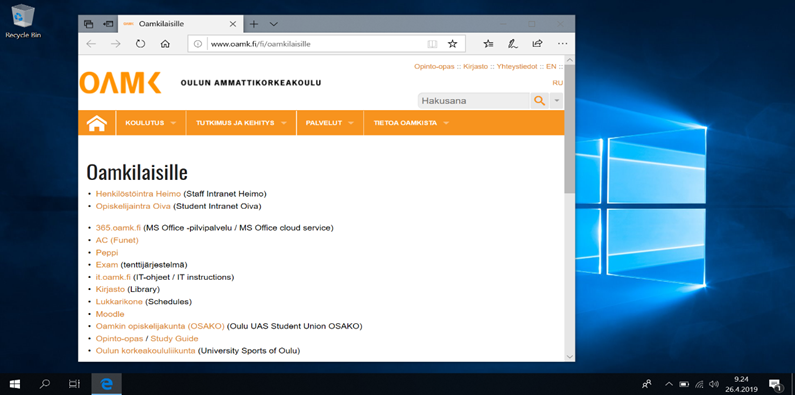
- You can change from a desktop to another by pressing the Task View button and selecting the desktop of your choosing. You can also create new ones if you so wish.
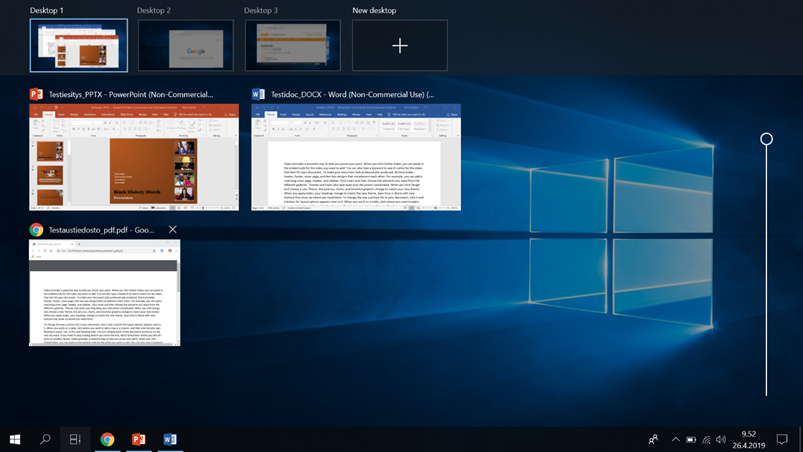
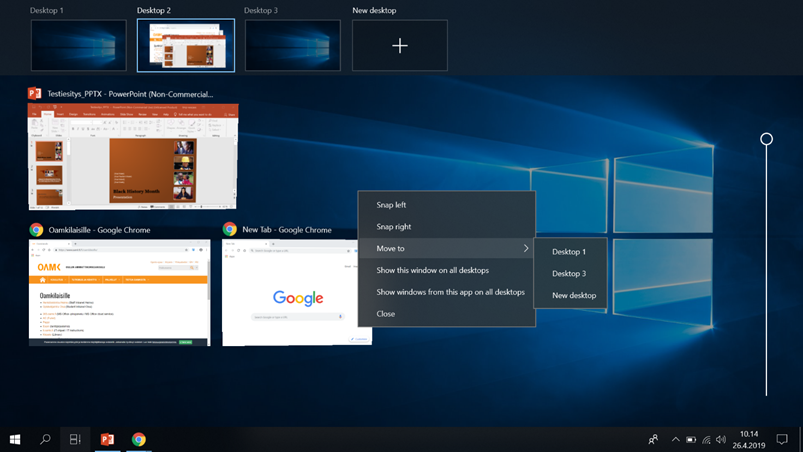
- You can move open applications from a desktop to another:
- Click and drag the application OR
- by right clicking on the application you want to move and selecting the desktop you want to move it to. You can also make the application visible on all existing desktops.
- When you have no more use for a desktop, move your cursor on top of the desktop in Task View and click on the cross.

Using virtual desktops by keyboard
- The key combination Windows + Ctrl + D creates a new virtual desktop.
- Another option is to press the Windows key + TAB and creating a new virtual desktop from there.
- You can move across desktops by pressing Windows + Ctrl + right/left arrow key.