Are you tired of manually having to type in your signature when sending emails? Outlook offers a very convenient feature for automatic signatures that saves a lot of your time and effort.
Contents of this guide:
- Setting your email signature in new Outlook/Web Outlook.
- Setting your email signature in Outlook Classic.
New Outlook / Web Outlook:
-
- Open the Settings menu (cogwheel icon) in the top right.
- The Settings menu should default to the tab: Accounts – Your accounts.
- Click on Signatures.
- Give your signature a name and in the second text field, input your signature. After you’re happy with your signature, click on the + New Signature button.
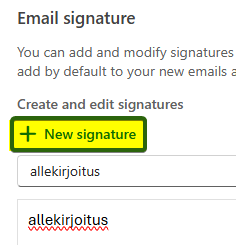
- Further below in the Select default signatures section you can set the signature(s) of your choosing for either new messages or replies/forwards. Press Save.
Classic Outlook:
-
-
- Open the File menu in the top left.
- Now from the bottom left, click on Options
- The Options should pop up as a new window, from the sidebar on the left, click on Mail and then Signatures…
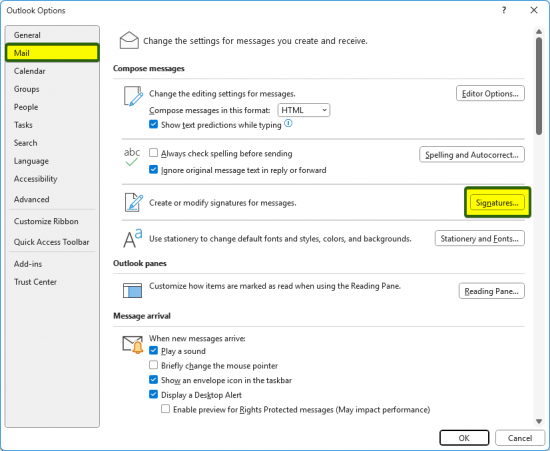
- Signatures should pop up in a new window. Press New and give your signature a name.
- In the text field below, input your signature. Once you’re happy with your signature, press Save.
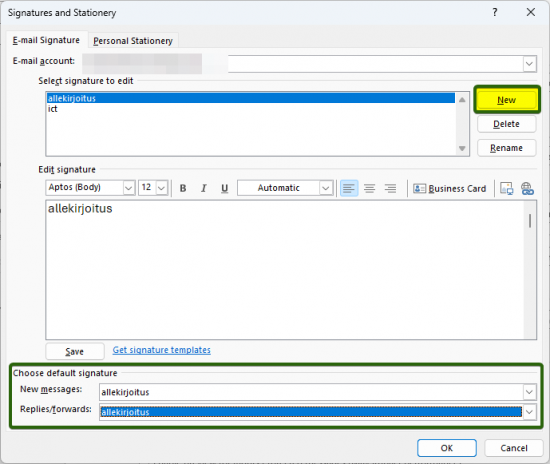
- in the Choose default signature section you can set the signature(s) of your choosing for either new messages or replies/forwards. Press OK.
-
Traditionally a signature has four lines of text with a maximum of 80 characters per line. Before the lines, add two hyphens and a space ("-- ") to mark where the signature starts, it is customary and Outlook doesn’t do that for you. A good signature for a student would be:
--
Name
Student (GROUP)
Degree Programme, OUAS
Here is an example:
--
Jane Smith
Engineering Degree Student (DIN12SP)
Degree Programme in Information Technology, OUAS